

Ironing a snapback trucker hat might seem like a daunting task, but with the right approach, it can be done effectively. As a supplier of high - quality snapback trucker hats, I've had my fair share of experience with these stylish headpieces. In this blog, I'll guide you through the process of ironing a snapback trucker hat step by step.
Understanding the Structure of a Snapback Trucker Hat
Before we start ironing, it's important to understand the components of a snapback trucker hat. A typical snapback trucker hat consists of a front panel, usually made of a thicker material like cotton or wool, and a mesh back for breathability. The snapback closure at the back allows for adjustable sizing. The front panel often has a logo or embroidery, which requires special care during the ironing process.
Pre - ironing Preparations
- Check the Hat Material
Different materials require different ironing temperatures. Most snapback trucker hats are made of cotton or a cotton - blend. For cotton, a medium - high heat setting on the iron is usually appropriate. However, if the hat has a synthetic component, it's best to use a lower heat setting to avoid melting or damaging the fabric. - Remove the Snapback
It's a good idea to remove the snapback closure before ironing. This not only makes the hat easier to handle but also prevents the metal snapback from getting hot and potentially burning the fabric or causing damage to the iron. - Prepare a Pressing Cloth
A pressing cloth is essential to protect the hat from direct heat. You can use a clean, white cotton cloth such as an old pillowcase or a tea towel. This will prevent the iron from leaving shiny marks or scorching the hat.
Step - by - Step Ironing Process
- Set Up Your Ironing Area
Find a flat and clean surface to iron the hat. You can use an ironing board, but if you don't have one, a table covered with a thick towel will also work. Make sure the surface is large enough to accommodate the hat. - Dampen the Pressing Cloth
Lightly dampen the pressing cloth with water. This helps to transfer heat more evenly and also aids in removing wrinkles. However, don't make the cloth too wet, as excessive moisture can cause water stains on the hat. - Place the Hat on the Ironing Surface
Lay the hat flat on the ironing surface with the front panel facing up. Smooth out any wrinkles or creases by hand. - Position the Pressing Cloth
Place the damp pressing cloth over the hat, covering the entire area you want to iron. - Start Ironing
Turn on the iron and set it to the appropriate heat setting. Gently glide the iron over the pressing cloth in a back - and - forth motion. Avoid applying too much pressure, especially if the hat has embroidery or a logo. Focus on areas with visible wrinkles, and move the iron slowly to allow the heat to penetrate the fabric. - Iron the Front Panel
Pay special attention to the front panel of the hat, as this is the most visible part. Work from the top of the panel down to the brim. If there are stubborn wrinkles, you can hold the iron in one spot for a few seconds, but be careful not to over - heat the fabric. - Iron the Brim
To iron the brim, place the hat on its side with the brim facing up. Use the pressing cloth to protect the brim and gently iron it to reshape it if necessary. You can also use your hands to mold the brim into the desired shape while the fabric is still warm. - Iron the Mesh Back
The mesh back of the hat is more delicate and requires less heat. Use a lower heat setting on the iron and be very gentle when ironing. You may not need to iron the mesh back as vigorously as the front panel, as it is less likely to have deep wrinkles.
Post - ironing Care
- Let the Hat Cool
After ironing, let the hat cool completely before putting the snapback back on. This allows the fabric to set in its new shape. - Reshape the Hat
Once the hat is cool, you can reshape it further if needed. You can use your hands to mold the hat into the desired shape, or you can place it on a hat form to maintain its shape. - Reattach the Snapback
After the hat has cooled and is in the desired shape, reattach the snapback closure. Make sure it is securely fastened.
Special Considerations for Different Hat Styles
- Classics Snapback Trucker Hats
Classics Snapback Trucker Hats often have a simple design with a basic logo or embroidery. When ironing these hats, follow the general steps mentioned above. However, if the logo is made of a special material, such as a vinyl decal, be extra careful not to over - heat it. - Snapback Trucker Hat Black Vintage
Snapback Trucker Hat Black Vintage hats may have a faded or distressed look. When ironing these hats, use a lower heat setting to preserve the vintage appearance. You may also want to avoid ironing directly over any areas with intentional fading or distressing. - Camo Snapback Trucker Hat
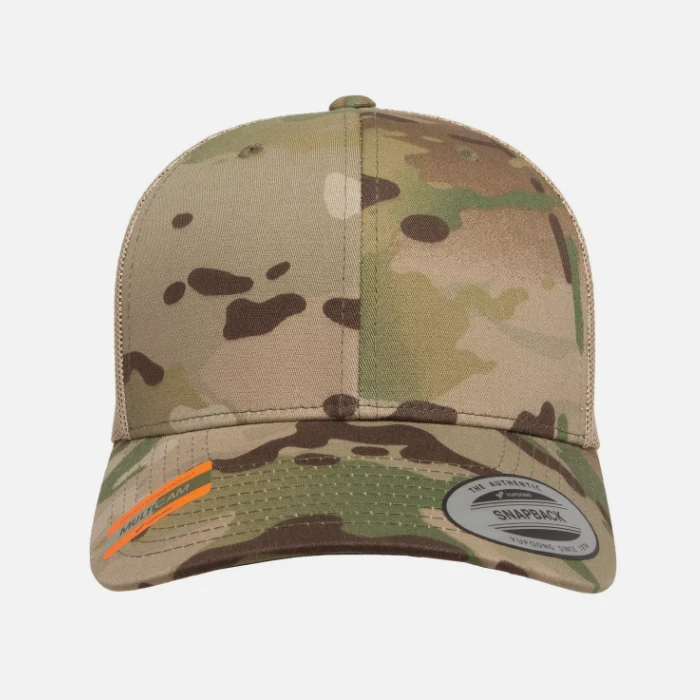
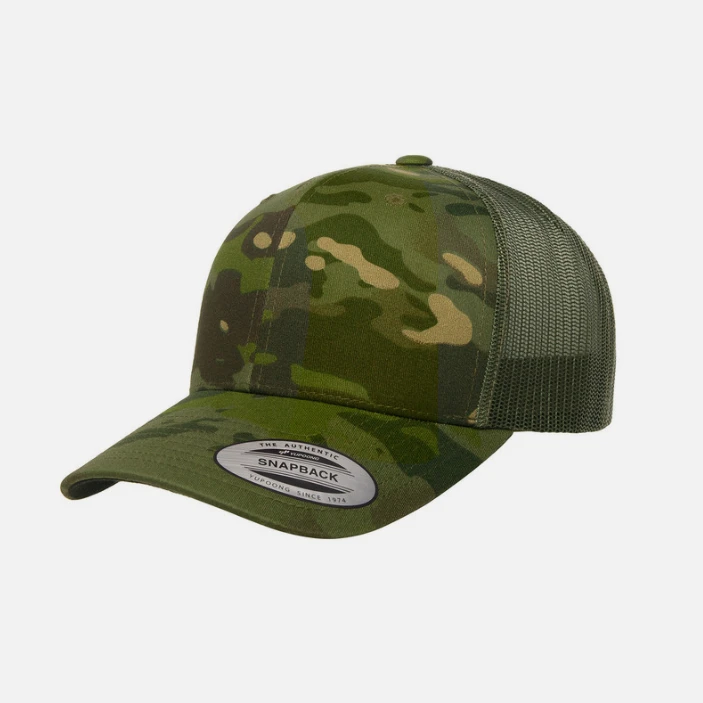
Camo Snapback Trucker Hat patterns can be made of different materials and colors. If the hat has a multi - colored camo pattern, make sure to test the iron on a small, inconspicuous area first to ensure that the colors don't bleed or fade.
Conclusion
Ironing a snapback trucker hat is a process that requires patience and attention to detail. By following the steps outlined in this blog, you can keep your snapback trucker hats looking their best. As a supplier of snapback trucker hats, I understand the importance of maintaining the quality and appearance of these hats. Whether you're a retailer looking to stock up on our high - quality hats or an individual interested in purchasing a single hat, we're here to serve you.
If you're interested in purchasing our snapback trucker hats or have any questions about our products, please feel free to reach out to us for a procurement discussion. We're eager to work with you and provide you with the best snapback trucker hats in the market.
References
- Textile Care Guide for Cotton Fabrics. Textile Institute.
- Ironing Techniques for Different Fabrics. Home Appliance Manuals.