

When running a business as an Embroidered Dad Cap supplier, it's inevitable that we encounter situations where caps with damaged embroidery come into play. Understanding how to repair them not only helps in maintaining the quality of our products but also in reducing waste and costs. In this blog, I'll share some practical steps on how to repair a damaged embroidery on a dad cap.
Assessing the Damage
The first step in any repair process is to thoroughly assess the damage. Is the embroidery thread frayed, broken, or has it come loose from the cap fabric? Are there missing stitches, or has the color faded? Take a close look at the damaged area and determine the extent of the problem. This will help you decide on the most appropriate repair method.
For minor issues like a few loose threads or a small hole in the embroidery, a simple stitch - in repair might be sufficient. However, if a large portion of the embroidery is damaged, faded, or has lost its original shape, you might need to consider more extensive repairs such as re - embroidering the entire design.
Gathering the Necessary Tools and Materials
Once you've assessed the damage, it's time to gather the tools and materials needed for the repair. Here's a list of the essentials:
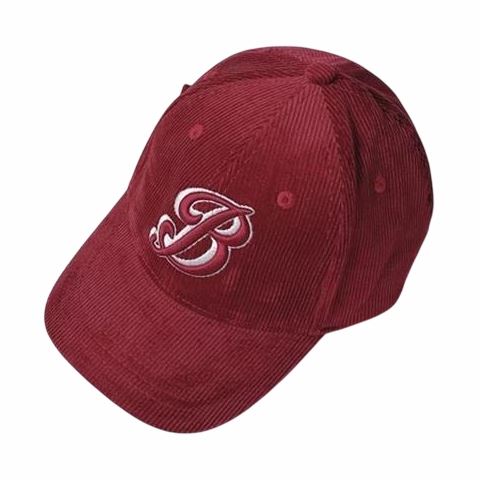
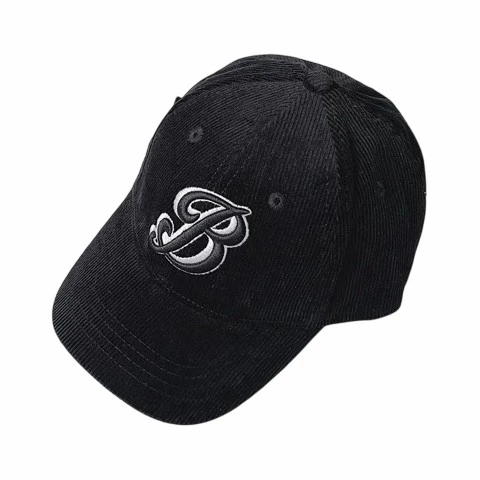
- Embroidery thread: Choose a thread that matches the color and type of the original embroidery. You can find a wide variety of embroidery threads at craft stores or online.
- Needles: Select a fine - tipped embroidery needle that is appropriate for the thickness of the thread and the fabric of the cap.
- Scissors: A sharp pair of scissors is essential for trimming loose threads.
- Stabilizer (optional): If the cap fabric is thin or stretchy, using a stabilizer can help keep the embroidery in place during the repair process.
- Iron (optional): In some cases, you might need to use an iron to flatten the fabric and make the repair process easier.
Minor Repair - Fixing Loose Threads
If the damage is limited to a few loose threads, here's how you can fix it:
- Use the scissors to carefully trim any frayed or loose ends of the thread. Make sure not to cut any intact stitches.
- Thread your embroidery needle with a matching thread. Knot the end of the thread.
- Insert the needle through the back of the cap fabric near the loose thread. Bring the needle up through the fabric and catch the loose thread with the needle tip.
- Gently pull the thread through, securing the loose end. Repeat this process for all the loose threads in the area.
- Once all the loose threads are secured, tie a knot on the back of the fabric to prevent the thread from coming loose again. Trim the excess thread.
Repairing Missing Stitches
When there are missing stitches in the embroidery, follow these steps:
- Analyze the pattern of the original embroidery. This will help you determine where the missing stitches should go.
- Thread your needle as before. Start at the back of the fabric where the missing stitch should begin.
- Create the missing stitch by following the same path and tension as the surrounding stitches. For example, if the original stitches are running stitches, make sure your replacement stitch is also a running stitch of the same length.
- Continue adding stitches until all the missing ones are filled. Remember to tie off the thread on the back of the fabric when you're done.
Re - embroidering a Damaged Design
In cases where a significant part of the embroidery is damaged, re - embroidering might be the best solution. First, you can visit our Dad Hat Embroidery Design page to get inspiration for the design if you plan to change or improve it during the re - embroidery process.
- Remove the damaged embroidery: Use a seam ripper to carefully remove the damaged embroidery from the cap. Make sure not to damage the cap fabric in the process.
- Prepare the cap: If necessary, use an iron to flatten the area where the old embroidery was removed. If the cap fabric is thin, you can apply a stabilizer to the back of the fabric to support the new embroidery.
- Re - hoop the cap: Place the cap in an embroidery hoop, ensuring that the area to be embroidered is taut and flat.
- Set up the embroidery machine: If you're using a machine for re - embroidery, load the appropriate design and thread the machine with the matching thread.
- Embroider the new design: Start the embroidery machine and let it work its magic. Make sure to monitor the process to ensure that the embroidery is going smoothly.
- Trim the excess thread: Once the embroidery is complete, carefully trim any loose or excess threads.
Special Considerations for Different Cap Materials
As an Embroidered Dad Cap supplier, we work with various materials such as cotton, nylon, and twill. Each material has its own characteristics that need to be considered during the repair process.
- Cotton: Cotton is a relatively easy fabric to work with. It's breathable and accepts embroidery well. However, it can shrink or wrinkle during the washing or repair process. Make sure to iron the cotton cap gently before and after the repair to keep it looking smooth.
- Nylon Dad Hat: Nylon is a synthetic fabric that is strong and lightweight. It is often used in dad caps because of its durability. When repairing a nylon cap, be careful not to over - heat the fabric with an iron, as it can melt. Choose a thread that is suitable for synthetic fabrics.
- Twill: Twill is a sturdy fabric with a diagonal weave. It provides a good base for embroidery. When working with twill, pay attention to the direction of the weave to ensure that the embroidery aligns properly.
Prevention is Better than Cure
While knowing how to repair damaged embroidery is important, preventing the damage in the first place is even better. Here are some tips for preventing embroidery damage:
- Proper storage: Store dad caps in a cool, dry place away from direct sunlight and moisture. This can prevent the embroidery from fading or becoming brittle.
- Gentle handling: When selling and shipping the caps, make sure to handle them gently to avoid snagging or pulling on the embroidery.
- Quality control: Implement strict quality control measures during the production process. This includes checking the embroidery for any loose threads or weak stitches before the caps are sent out.
Color - Fading Repairs
If the embroidery has faded, you can try to restore its color. One option is to use fabric dyes that are compatible with both the thread and cap fabric. First, test the dye on a small, inconspicuous area of the cap to ensure that it doesn't cause any damage or color bleeding. Then, follow the instructions on the dye package to carefully apply the dye to the faded embroidery.
Conclusion
Repairing damaged embroidery on a dad cap is a skill that can save your business time and money. By following the steps outlined in this blog, you can restore the quality of your embroidered dad caps and ensure customer satisfaction.
As an established Embroidered Dad Cap supplier, we take pride in the quality of our products. Our range includes classic designs like the All Black Dad Cap as well as custom - embroidered options. Whether you're a retailer looking to stock high - quality dad caps or a brand wanting to create a unique promotional item, we can offer you the perfect solution.
If you're interested in discussing potential procurement opportunities or want to learn more about our products, please feel free to reach out. We're always ready to have in - depth discussions with you and find the best cap solutions for your specific needs.
References
- "Hand Embroidery: A Beginner's Guide" by Leisure Arts
- "Embroidery Machine Handbook" by Janome
- Industry - specific guides on cap manufacturing and repair from trade associations.