

Hey there, fashion enthusiasts! If you're like me, you've probably fallen head over heels for the timeless charm of berets. These little caps have a way of adding a touch of sophistication and flair to any outfit. And the best part? You can make your own DIY beret at home! As a beret supplier, I've seen firsthand the joy and creativity that goes into crafting these stylish hats. So, let's dive in and learn how to make your very own beret.
Getting Started: Materials and Tools
Before we start cutting and sewing, let's gather all the materials and tools we'll need. You don't have to break the bank to make a beret; most of these items can be found at your local craft store or even around your house.
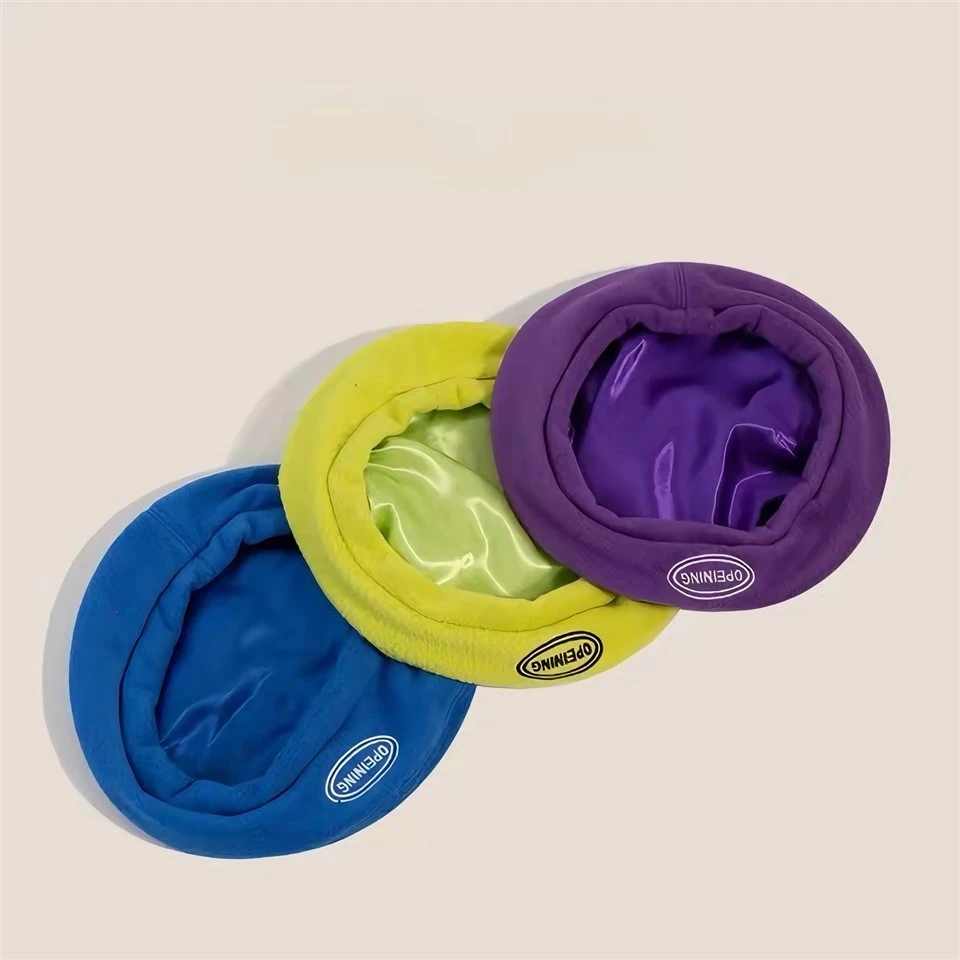
- Fabric: You can choose from a variety of fabrics, depending on your style and preference. Wool is a classic choice for a traditional beret, but you can also use Polyester Beret for a more lightweight and affordable option. Aim for about 1/2 to 3/4 yard of fabric, depending on the width.
- Lining Fabric: This will give your beret a finished look and make it more comfortable to wear. You can use a soft cotton or silk lining.
- Thread: Match the thread color to your fabric for a seamless finish.
- Scissors: A good pair of sharp scissors is essential for cutting your fabric accurately.
- Pins: These will help you hold the fabric in place while you sew.
- Sewing Machine or Needle: You can use a sewing machine for a faster and more professional finish, but hand-sewing is also an option if you don't have a machine.
- Measuring Tape: To measure your head and ensure a proper fit.
- Chalk or Fabric Marker: To mark your pattern on the fabric.
Taking Your Measurements
The first step in making a beret is to take accurate measurements of your head. This will ensure that your beret fits comfortably and looks great.
- Head Circumference: Use a measuring tape to measure around the widest part of your head, just above your ears and eyebrows. Make sure the tape is snug but not too tight.
- Beret Depth: Decide how deep you want your beret to be. A typical beret depth is around 4 to 6 inches, but you can adjust this based on your personal preference.
Creating Your Pattern
Now that you have your measurements, it's time to create your pattern. You can either draw your own pattern or use a pre-made template.
- Draw Your Own Pattern: On a piece of paper, draw a circle with a diameter equal to your head circumference plus a few inches for seam allowance. Then, draw a smaller circle in the center of the large circle with a diameter equal to the beret depth. Cut out the two circles, and you have your pattern.
- Use a Pre-made Template: You can find beret patterns online or at your local craft store. Make sure to choose a pattern that matches your head measurements and beret depth.
Cutting Your Fabric
Once you have your pattern, it's time to cut your fabric.
- Lay Out Your Fabric: Place your fabric on a flat surface, wrong side up.
- Pin Your Pattern: Use pins to secure your pattern to the fabric.
- Cut Your Fabric: Use your scissors to cut around the pattern, leaving a 1/2-inch seam allowance.
- Cut Your Lining Fabric: Repeat the process with your lining fabric, using the same pattern.
Sewing Your Beret
Now comes the fun part – sewing your beret!
- Sew the Crown: Fold your fabric in half, wrong sides together, and sew the curved edge using a 1/2-inch seam allowance. Repeat with the lining fabric.
- Turn the Crown Right Side Out: Carefully turn the crown of your beret and lining right side out through the opening. Press the seams with an iron.
- Sew the Brim: Fold the brim of your beret in half, wrong sides together, and sew the straight edge using a 1/2-inch seam allowance. Repeat with the lining fabric.
- Attach the Crown to the Brim: Place the crown of your beret on top of the brim, right sides together, and pin them in place. Sew around the edge using a 1/2-inch seam allowance.
- Attach the Lining: Place the lining inside the beret, right sides together, and pin it in place. Sew around the edge, leaving a small opening for turning.
- Turn the Beret Right Side Out: Carefully turn the beret right side out through the opening. Push the corners out with a chopstick or other small tool to give them a sharp shape.
- Sew the Opening Closed: Use a ladder stitch or a blind stitch to sew the opening closed.
Adding the Final Touches
Your beret is almost finished! Now it's time to add the final touches to make it look even more stylish.
- Press Your Beret: Use an iron to press your beret gently, making sure to press the seams flat.
- Add a Ribbon or Embellishment: You can add a ribbon, flower, or other embellishment to the front of your beret to give it a unique look.
- Shape Your Beret: Use your hands to shape your beret into the desired style. You can fold the brim up or down, or create a slouchy look.
Wearing Your DIY Beret
Congratulations! You've just made your very own DIY beret. Now it's time to show it off! Here are some tips on how to wear your beret:
- Pair it with a Casual Outfit: A beret looks great with jeans, a t-shirt, and a leather jacket for a casual and stylish look.
- Dress it Up: You can also wear your beret with a dress or a suit for a more formal occasion.
- Experiment with Different Styles: Try folding the brim up or down, or wearing the beret at an angle for a unique look.
Why Choose Our Berets?
As a Beret Manufacturers, we take pride in offering high-quality berets in a variety of styles and colors. Our berets are made from the finest materials and crafted with attention to detail, ensuring a perfect fit and a long-lasting finish.
Whether you're a fashion designer, a retailer, or an individual looking for a unique and stylish beret, we have something for everyone. Our Soft Beret Style Hat Women's collection is especially popular among women, with its soft and comfortable fit and trendy designs.
Contact Us for Your Beret Needs
If you're interested in purchasing our berets or have any questions about our products, please don't hesitate to contact us. We're always happy to help and look forward to working with you. Whether you're looking to buy in bulk for your business or just want to add a few stylish berets to your personal collection, we can provide you with the perfect solution.
References
- "The Complete Guide to Sewing Hats" by Mary Ray
- "Fashion Sewing Handbook" by Reader's Digest
So, there you have it – everything you need to know about making a DIY beret. I hope you found this blog post helpful and inspiring. Get creative, have fun, and let your personal style shine through in your handmade beret. And if you're in the market for high-quality berets, remember to reach out to us. We're here to make sure you look and feel your best!