

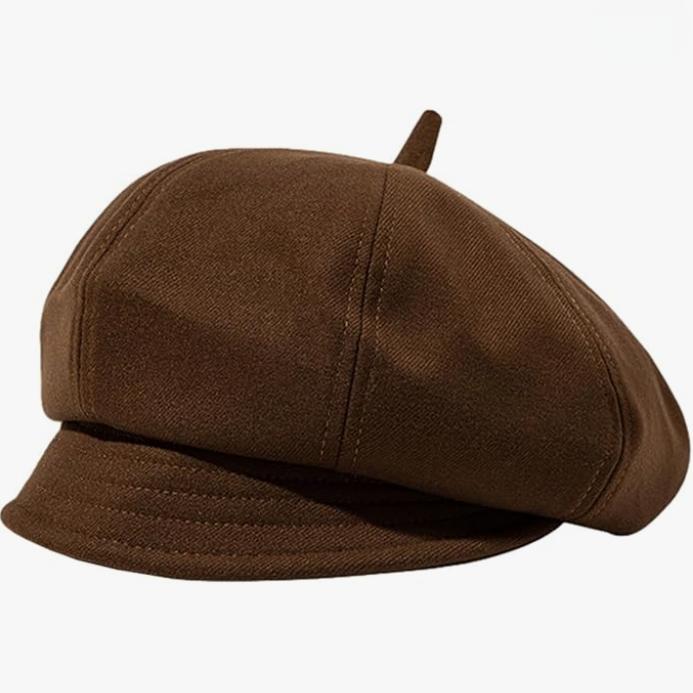
A plain beret is a timeless and versatile accessory that can elevate any outfit. Whether you're aiming for a bohemian look, a classic French style, or a trendy urban aesthetic, a plain beret can be the perfect finishing touch. As a supplier of plain berets, I'm excited to share with you a step-by-step guide on how to make your own DIY plain beret. Not only will this allow you to express your creativity, but it also gives you the opportunity to customize the beret to your exact preferences.
Materials You'll Need
- Fabric: Choose a fabric that suits your style and the intended use of the beret. Wool, felt, cotton, or a blend of these materials work well. For a more structured beret, opt for a heavier fabric like wool felt. If you prefer a softer, more pliable beret, a lighter cotton or wool blend may be a better choice. You'll need approximately 1/2 to 3/4 yard of fabric, depending on the size of the beret and the width of the fabric.
- Thread: Select a thread that matches the color of your fabric. A strong, all-purpose thread is usually sufficient.
- Scissors: A sharp pair of fabric scissors is essential for cutting the fabric accurately.
- Measuring Tape: You'll need a measuring tape to take accurate measurements for the beret pattern.
- Pins: Use straight pins to hold the fabric pieces together during the sewing process.
- Sewing Machine or Needle: You can either use a sewing machine for a more professional finish or sew the beret by hand if you prefer a more traditional approach.
- Optional: You may also want to use a pattern or template to ensure the correct shape and size of the beret. You can find free beret patterns online or create your own by tracing around a beret you already own.
Step 1: Take Your Measurements
The first step in making a DIY plain beret is to take your head measurements. This will ensure that the beret fits you comfortably. To measure your head, wrap a measuring tape around the widest part of your head, just above your ears and eyebrows. Make sure the measuring tape is snug but not too tight. Write down this measurement, as you'll need it to create the beret pattern.
Step 2: Create the Beret Pattern
There are several ways to create a beret pattern. One of the simplest methods is to use a circular template. To do this, divide your head measurement by 3.14 (pi) to get the diameter of the circle. For example, if your head measurement is 22 inches, the diameter of the circle would be approximately 7 inches (22 ÷ 3.14 = 7). Draw a circle with this diameter on a piece of paper or cardboard. This will be the base of your beret pattern.
Next, you'll need to create the crown of the beret. To do this, draw a smaller circle in the center of the larger circle. The diameter of the smaller circle will depend on the depth of the beret you want. A good rule of thumb is to make the diameter of the smaller circle about half the diameter of the larger circle. For example, if the diameter of the larger circle is 7 inches, the diameter of the smaller circle would be approximately 3.5 inches.
Cut out the two circles from the paper or cardboard. You now have the basic pattern for your beret.
Step 3: Cut the Fabric
Lay the fabric out on a flat surface and place the beret pattern on top of it. Pin the pattern to the fabric to hold it in place. Use sharp fabric scissors to cut around the pattern, leaving a small seam allowance (usually about 1/4 to 1/2 inch) around the edges. You should now have two fabric circles: one for the base of the beret and one for the crown.
Step 4: Sew the Crown
If you're using a sewing machine, set it to a straight stitch and thread it with the matching thread. Place the two fabric circles right sides together, aligning the edges. Pin the circles together around the edges, making sure the pins are evenly spaced. Starting at the edge of the circle, sew around the circumference of the circles, using the seam allowance you left when cutting the fabric. Leave a small opening (about 2 to 3 inches) at the edge of the circle for turning the beret right side out.
If you're sewing the beret by hand, use a running stitch to sew the two fabric circles together. Start at the edge of the circle and sew around the circumference, leaving a small opening for turning the beret right side out.
Step 5: Turn the Beret Right Side Out
Once you've sewn the crown of the beret, use a pair of tweezers or a chopstick to gently turn the beret right side out through the opening you left. Push the fabric through the opening, being careful not to pull too hard and stretch the fabric. Once the beret is right side out, use a needle and thread to sew the opening closed. You can use a ladder stitch or a whipstitch to close the opening invisibly.
Step 6: Shape the Beret
To shape the beret, gently pull the fabric at the center of the crown to create a dome shape. You can also use your hands to mold the beret into the desired shape. If you want a more structured beret, you can use a steam iron to press the fabric and help it hold its shape. Make sure to use a pressing cloth to protect the fabric from direct heat.
Step 7: Optional: Add a Lining
If you want to add a lining to your beret for a more finished look or to make it more comfortable to wear, you can cut a circle of lining fabric the same size as the base of the beret. Place the lining fabric right sides together with the base of the beret and sew around the edges, leaving a small opening for turning the lining right side out. Turn the lining right side out and insert it into the beret. Sew the opening of the lining closed, and then sew the lining to the beret around the edge.
Step 8: Final Touches
Once you're satisfied with the shape and fit of the beret, you can add any final touches you like. You can attach a button or a brooch to the front of the beret for a decorative touch, or you can add a ribbon or a lace trim around the edge. You can also experiment with different colors and patterns of fabric to create a unique and personalized beret.

Conclusion
Making a DIY plain beret is a fun and rewarding project that allows you to express your creativity and create a unique accessory that is tailored to your style. By following these simple steps, you can make a beautiful and stylish beret that you'll be proud to wear. And if you're interested in purchasing plain berets in bulk, be sure to check out our Wholesale Beret options. We also offer a variety of other beret styles, including Winter Plaid Beret and Beret Hat Fashion Women. If you have any questions or would like to discuss your beret procurement needs, please feel free to contact us. We look forward to working with you!
References
- "How to Make a Beret: A Step-by-Step Guide." Sewing Patterns, accessed [date].
- "DIY Beret Tutorial." Craftsy, accessed [date].
- "Beret Pattern and Instructions." The Spruce Crafts, accessed [date].