


Why Every Custom Cap Design Needs a Tech Pack
Creating a successful custom cap starts with a good idea, but bringing that idea into production requires much more than an attractive design. A professional cap design tech pack provides the technical information a manufacturer needs to turn your concept into a real product.
Whether you are developing a custom baseball cap, trucker hat, dad hat, bucket hat, or five-panel cap, preparing a clear cap tech pack for manufacturing helps your production partner understand the materials, dimensions, construction, and branding requirements.
For fashion brands, wholesalers, and private-label businesses, a well-prepared technical package can make the difference between a smooth sampling process and repeated revisions.
At Dongguan Shipai Wanjia Hat Factory Co., Ltd., we work with international brands and wholesale buyers on custom OEM and ODM headwear projects. We understand that every design has different requirements. Our production team reviews technical information, reference samples, and artwork to evaluate manufacturing feasibility before sampling begins.
In this guide, we explain how to prepare your cap design step by step, what information to include in a professional tech pack, and how to communicate your expectations clearly to a cap manufacturer.
Key Takeaways
- A professional cap tech pack turns a creative idea into clear manufacturing instructions.
- Technical drawings, measurements, materials, construction details, and artwork specifications are essential for accurate sampling.
- Cap-specific details such as crown height, visor shape, front panel structure, and closure type should be clearly documented.
- A complete Bill of Materials (BOM) helps manufacturers evaluate material requirements and production costs.
- Reviewing and approving a physical sample before bulk production helps reduce misunderstandings and costly revisions.
Start with Your Cap Design Concept
Before creating a technical package, define what you want your finished cap to look and feel like.
A design concept provides the foundation for all later manufacturing decisions.
Start by answering four important questions:
1. What type of cap are you developing?
Different cap styles have different construction requirements.
Common options include:
Baseball caps: Classic six-panel or structured designs.
Dad hats: Soft crowns with relaxed shapes and curved visors.
Trucker caps: Foam or fabric front panels with mesh back panels.
Five-panel caps: Contemporary construction with a distinctive front panel.
Bucket hats: Soft, rounded crowns with downward-sloping brims.
Snapback caps: Structured crowns with adjustable plastic closures.
2. Who is your target customer?
Think about your brand positioning and intended market.
For example, a premium streetwear brand may prefer heavyweight cotton twill, detailed embroidery, and custom metal hardware. A promotional brand may focus more on cost-effective materials, simple decoration, and larger production quantities.
3. What is your preferred fit and appearance?
Consider whether the cap should have:
A high crown or low crown.
A structured or unstructured front.
A flat or curved visor.
A slim or deeper crown profile.
A tight or relaxed fit.
4. What makes your design different?
Identify the details that give your cap its identity. These could include a special panel shape, contrast stitching, vintage washing, woven patches, custom embroidery, or a unique closure.
The clearer your concept, the easier it becomes to communicate your expectations to a manufacturer.
Create Technical Drawings for Your Custom Cap
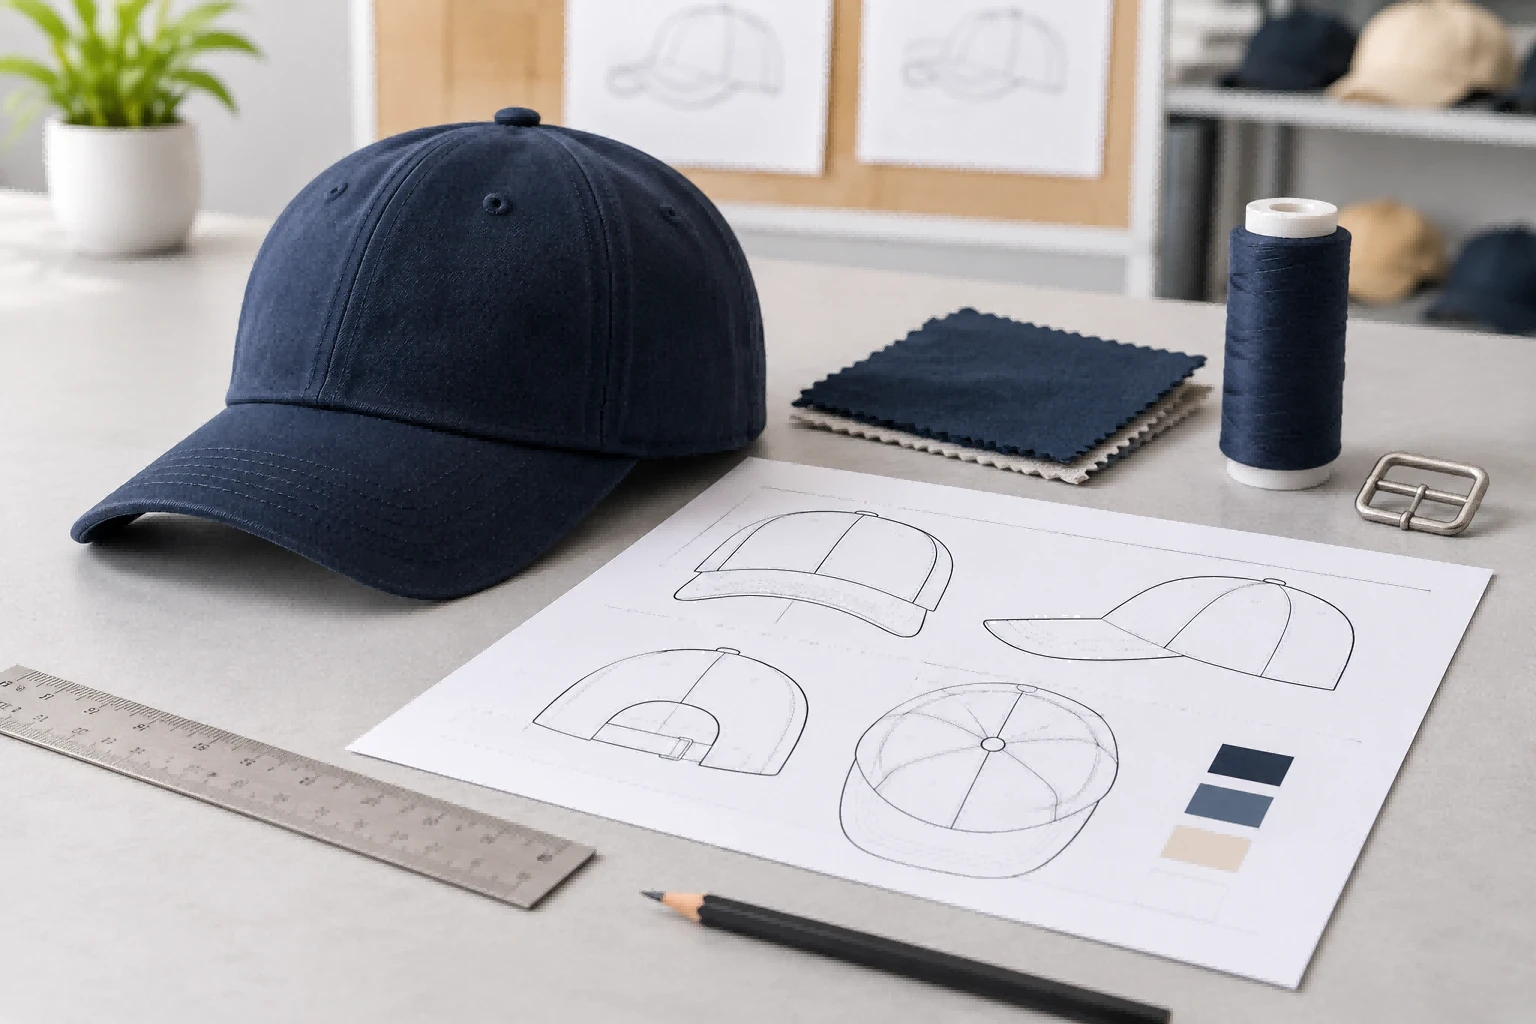
A technical drawing is one of the most important parts of a cap design tech pack.
A fashion illustration may show the overall style, but it does not always explain how a cap should be constructed.
Manufacturers need clear technical views that show the product from different angles.
Essential Views to Include
| Drawing view | What it should show |
|---|---|
| Front view | Crown shape, front panels, logo, and visor |
| Back view | Closure, opening, rear panels, and branding |
| Side view | Crown profile, visor curve, and side decoration |
| Top view | Panel arrangement, top button, and stitching |
| Inside view | Sweatband, seam tape, lining, and internal construction |
| Detail views | Embroidery, patches, eyelets, labels, and hardware |
You do not need to include every view for every design. However, unusual shapes and complex construction details should always have additional illustrations.
Create Technical Drawings for Your Custom Cap
One of the most common reasons for sample revisions is unclear measurement information.
A cap may look correct in a design illustration but feel completely different when worn.
Your tech pack should include a measurement chart with clearly identified measuring points.
Important Cap Measurements
| Measurement | What to specify |
|---|---|
| Head circumference | Finished internal circumference or adjustable range |
| Crown height | Vertical height of the crown |
| Front panel width | Width of the front panel |
| Front panel height | Height of the front panel |
| Visor length | Distance from the front crown seam to the visor edge |
| Visor width | Total width across the visor |
| Visor curve | Desired curvature and overall appearance |
| Sweatband width | Width of the internal sweatband |
| Back opening | Shape and dimensions of the rear opening |
Not every cap needs every measurement. Choose the points that directly affect your design.
Explain How Measurements Are Taken
Numbers alone are not enough.
For example, crown height may be measured from the bottom crown seam to the top button area, while visor length is measured from the front attachment seam to the outer edge.
Your measurement sheet should include:
Measurement point identification.
Measuring direction.
Units (cm or inches).
Target measurement.
Acceptable tolerance.
A sample measurement chart could look like this:
| Measurement | Target | Tolerance |
|---|---|---|
| Crown height | 11 cm | ±0.5 cm |
| Visor length | 7 cm | ±0.3 cm |
| Sweatband width | 3 cm | ±0.2 cm |
These are illustrative values only, not universal cap manufacturing standards.
Why Fit Matters
Two caps can use the same fabric and have similar measurements but still look different because of their panel proportions, buckram, crown volume, and visor construction.
If you have an existing cap with the fit you like, sending a physical reference sample can be extremely helpful.
It allows the manufacturer to examine its shape and construction more accurately.
Specify Colors, Embroidery, and Logo Artwork
Branding is often one of the most important parts of a custom cap.
A logo that looks correct on a computer screen may appear different when embroidered, printed, or woven.
Your tech pack should explain exactly how each decorative element should be produced.
Embroidery Specifications
For embroidered logos, provide:
Original vector artwork.
Finished logo dimensions.
Exact placement.
Embroidery type (flat or 3D).
Thread colors.
Pantone references where available.
For example:
Front logo: Flat embroidery, 65 mm wide, centered on the front panels.
Side logo: 3D embroidery, 25 mm wide, positioned above the lower side seam.
Remember that embroidery has physical limitations. Very small text, thin lines, and complicated gradients may need adjustments to remain clear.
Other Decoration Methods
Different branding techniques create different visual effects.
| Technique | Best suited for |
|---|---|
| Flat embroidery | Clean logos and detailed lettering |
| 3D embroidery | Raised, bold branding |
| Woven patches | Fine details and small text |
| Printed patches | Multicolor artwork and gradients |
| Screen printing | Flat graphic designs |
| Heat transfer | Detailed artwork and small logos |
| Silicone patches | Modern, textured branding |
If you are using sublimation, provide the complete production-ready repeating artwork, including the correct panel layout and print dimensions.
Color Matching
Whenever possible, provide Pantone references or physical color swatches.
For embroidery thread, you can also provide the thread manufacturer's color number.
Keep in mind that screen colors, printed color references, fabric colors, and actual embroidery threads may differ.
Physical color confirmation is important before bulk production.
Explain the Cap Construction Details
A professional cap tech pack should explain not only what the product looks like, but also how it should be made.
This is particularly important when developing a new cap shape or recreating a specific reference.
Crown Construction
Specify:
Number of panels.
Panel shape and proportions.
Structured or unstructured front.
Front support material.
Crown depth and profile.
Top button construction.
Ventilation eyelet positions.
For example, a six-panel baseball cap may use structured front panels with a softer back section.
A relaxed dad hat may require a softer crown construction without rigid front support.
Visor Construction
The visor affects both appearance and comfort.
Specify:
Visor length and width.
Flat or curved shape.
Visor insert material.
Number of decorative stitch rows.
Stitching color.
Desired curve.
If you want a vintage appearance, explain whether the visor should have a naturally curved shape or a more structured profile.
Internal Construction
The inside of the cap also matters.
Include details about:
Sweatband type and width.
Internal seam finishing.
Seam tape.
Lining, if required.
Reinforcement and stitching.
A detailed internal view can prevent misunderstandings that may not be visible in exterior product photos.
Include Labels, Packaging, and Finishing Instructions
A production-ready tech pack should cover the entire finished product, not just the cap itself.
Branding and Labels
Specify:
Main brand label.
Care label.
Size label, if applicable.
Side woven label.
Rear branding.
Hangtag placement.
Include artwork files and finished dimensions.
Packaging Details
Packaging requirements may include:
Individual polybags.
Custom printed packaging.
Tissue paper.
Hangtags and barcode stickers.
Carton quantities.
Carton dimensions.
Shipping marks.
If your brand has specific retail packaging requirements, provide them before bulk production.
Late packaging changes can affect both costs and production arrangements.
An Important Step: Sample Development and Revision Control
Even a detailed cap tech pack cannot guarantee that the first sample will be perfect.
Physical materials behave differently from digital illustrations. Fabric thickness, stiffness, stitching, and pattern proportions can all affect the finished appearance.
This is why sample development is an essential part of custom cap manufacturing.
A Practical Sample Review Checklist
When your first sample arrives, check the following:
Appearance
Does the crown match the intended shape?
Is the visor length and curve correct?
Are the panel proportions consistent with the design?
Materials
Does the fabric have the expected weight and hand feel?
Is the front panel stiffness correct?
Are the trims and hardware appropriate?
Branding
Is the logo the correct size?
Is the embroidery placement accurate?
Do the thread colors match the approved references?
Fit and Comfort
Does the cap fit the intended head size?
Is the sweatband comfortable?
Does the closure provide enough adjustment?
Common Cap Tech Pack Mistakes to Avoid
From a manufacturing perspective, several small omissions can create significant production problems.
Here are six common mistakes.
Using only inspiration photos: Reference images do not always explain dimensions, construction, or materials.
Leaving out fabric specifications: Different fabric weights and finishes can produce very different results.
Not defining the crown structure: A structured cap and an unstructured cap require different construction methods.
Providing incomplete logo files: Low-resolution images may not be suitable for embroidery or printing production.
Ignoring measurement methods: Measurements without clear reference points can lead to inconsistent results.
Changing specifications without updating the file: Outdated versions can create confusion between the buyer and manufacturer.
A professional tech pack does not need to be unnecessarily complicated. It needs to be clear, consistent, and complete enough for the intended product.
Your Cap Tech Pack Preparation Checklist
Before sending your design to a manufacturer, use this checklist to review your documents.
| Item | Required information |
|---|---|
| Product overview | Cap style, name, and product code |
| Design drawings | Front, back, side, and detail views |
| Measurements | Dimensions, measuring points, and tolerances |
| Materials | Fabric composition, GSM, and finish |
| Construction | Crown, visor, panels, and internal details |
| Branding | Logo artwork, dimensions, and placement |
| Colors | Pantone references and physical swatches |
| Trims | Closures, eyelets, buckles, and labels |
| Packaging | Tags, bags, cartons, and packing method |
| Revision history | Version number and approval status |
You can use this checklist as a starting point when preparing your own cap design documents.
If some specifications are not yet available, mark them as TBD rather than guessing. Your manufacturing partner can help review the production feasibility and identify the details that still need confirmation.
Conclusion: Turn Your Cap Design into a Production-Ready Product
A successful custom cap begins with a clear concept and develops through accurate technical specifications, material selection, sampling, and final approval.
A well-prepared cap design tech pack helps your manufacturing partner understand your expectations, evaluate production feasibility, and develop a sample that is closer to your intended design.
You do not need to be a professional technical designer to start a custom cap project. Clear reference photos, basic measurements, material preferences, and production-ready logo artwork are a valuable starting point.
At Dongguan Shipai Wanjia Hat Factory Co., Ltd., we specialize in custom headwear OEM and ODM manufacturing for overseas brands, wholesalers, and private-label businesses.
Our production team can review your design references, material requirements, and technical specifications to assess manufacturing feasibility.
Whether you are developing a classic baseball cap, a custom trucker hat, a vintage dad hat, or a completely new headwear concept, we welcome the opportunity to discuss your project.
Ready to develop your custom caps?
Send us your design files, reference photos, preferred materials, logo artwork, and estimated order quantity.
Visit our website: https://www.customizationcaps.com/
Let's turn your cap concept into a product ready for production.
FAQ
Q: What Measurements Should I Include In A Cap Tech Pack?
A: Important measurements include head circumference, crown height, front panel width, visor length, visor width, and sweatband dimensions. Additional measurements may be necessary for unusual cap shapes or custom construction.
Q: Can A Manufacturer Develop A Sample Without A Complete Tech Pack?
A: Yes. A manufacturer can often evaluate a project using reference photos, physical samples, artwork, and basic specifications. However, more detailed information generally makes sampling and communication easier.
Q: Should I Approve A Physical Sample Before Bulk Production?
A: Yes. We strongly recommend approving a physical pre-production sample before bulk manufacturing. This allows you to check the fit, fabric, construction, color, embroidery, and overall appearance before confirming the production standard.
Q: Can I Use Reference Photos Instead Of Technical Drawings?
A: Yes, especially during the initial inquiry. However, reference photos should be supported by measurements, written instructions, and close-up images of important construction details whenever possible.