

As a seasoned supplier of low crown caps, I've encountered numerous inquiries about the best way to dry these stylish headpieces. Low crown caps, known for their unique shape and versatility, require special care during the drying process to maintain their form and quality. In this blog post, I'll share some expert tips on how to dry low crown caps effectively, ensuring they remain in top condition for years to come.
Why Proper Drying Matters
Before diving into the drying methods, it's important to understand why proper drying is crucial for low crown caps. These caps are often made from a variety of materials, including cotton, polyester, and wool, each with its own set of characteristics and care requirements. Improper drying can lead to shrinkage, warping, and color fading, which can significantly reduce the lifespan and aesthetic appeal of the cap.
In addition, low crown caps are typically shaped to fit the wearer's head, and improper drying can cause the cap to lose its shape, making it uncomfortable to wear and less attractive. By following the right drying methods, you can preserve the integrity of the cap's shape and material, ensuring it looks and feels great every time you wear it.
Drying Methods
There are several methods you can use to dry a low crown cap, each with its own advantages and disadvantages. The best method for you will depend on the material of the cap, the level of moisture, and your personal preferences. Here are some of the most common drying methods:
Air Drying
Air drying is the most gentle and natural way to dry a low crown cap. It involves allowing the cap to dry slowly at room temperature, without the use of heat or direct sunlight. This method is ideal for caps made from delicate materials, such as wool or silk, as it minimizes the risk of shrinkage and damage.
To air dry a low crown cap, start by gently squeezing out any excess water from the cap. Avoid wringing or twisting the cap, as this can damage the fibers and distort the shape. Next, reshape the cap to its original form and place it on a clean, dry towel. Make sure the cap is lying flat and not folded or creased.
Leave the cap to air dry in a well-ventilated area, away from direct sunlight and heat sources. Depending on the material and level of moisture, it may take several hours or even days for the cap to fully dry. Check the cap periodically to ensure it is drying evenly and to prevent any mold or mildew from forming.
Towel Drying
Towel drying is a quick and effective way to remove excess water from a low crown cap. It involves using a clean, dry towel to absorb the moisture from the cap. This method is ideal for caps made from more durable materials, such as cotton or polyester, as it can help speed up the drying process.
To towel dry a low crown cap, start by gently squeezing out any excess water from the cap. Then, place the cap on a clean, dry towel and roll it up tightly. Apply gentle pressure to the towel to absorb as much moisture as possible. Unroll the towel and check the cap to see if it is still wet. If necessary, repeat the process with a dry towel until the cap is mostly dry.
Once the cap is mostly dry, reshape it to its original form and place it on a clean, dry towel to air dry completely. Make sure the cap is lying flat and not folded or creased. Leave the cap to air dry in a well-ventilated area, away from direct sunlight and heat sources.
Using a Fan
Using a fan is another effective way to speed up the drying process of a low crown cap. It involves using a fan to circulate air around the cap, which helps to evaporate the moisture more quickly. This method is ideal for caps made from materials that dry quickly, such as cotton or polyester.
To use a fan to dry a low crown cap, start by gently squeezing out any excess water from the cap. Then, reshape the cap to its original form and place it on a clean, dry towel. Position the fan so that it is blowing directly on the cap, but not too close or too strong. You can also adjust the angle of the fan to ensure that the air is circulating evenly around the cap.
Leave the fan running for several hours or until the cap is fully dry. Check the cap periodically to ensure it is drying evenly and to prevent any mold or mildew from forming.
Using a Hairdryer
Using a hairdryer is a quick and convenient way to dry a low crown cap, but it should be used with caution. The high heat from a hairdryer can damage the fibers of the cap and cause it to shrink or warp. This method is only recommended for caps made from materials that can withstand high heat, such as polyester or nylon.
To use a hairdryer to dry a low crown cap, start by setting the hairdryer to the lowest heat setting. Hold the hairdryer at least 6 inches away from the cap and move it around constantly to prevent overheating. Keep the hairdryer moving in a circular motion, and avoid focusing the heat on one area for too long.
Check the cap periodically to see if it is dry. If the cap is still damp, continue drying it on the lowest heat setting until it is fully dry. Once the cap is dry, allow it to cool down completely before wearing or storing it.
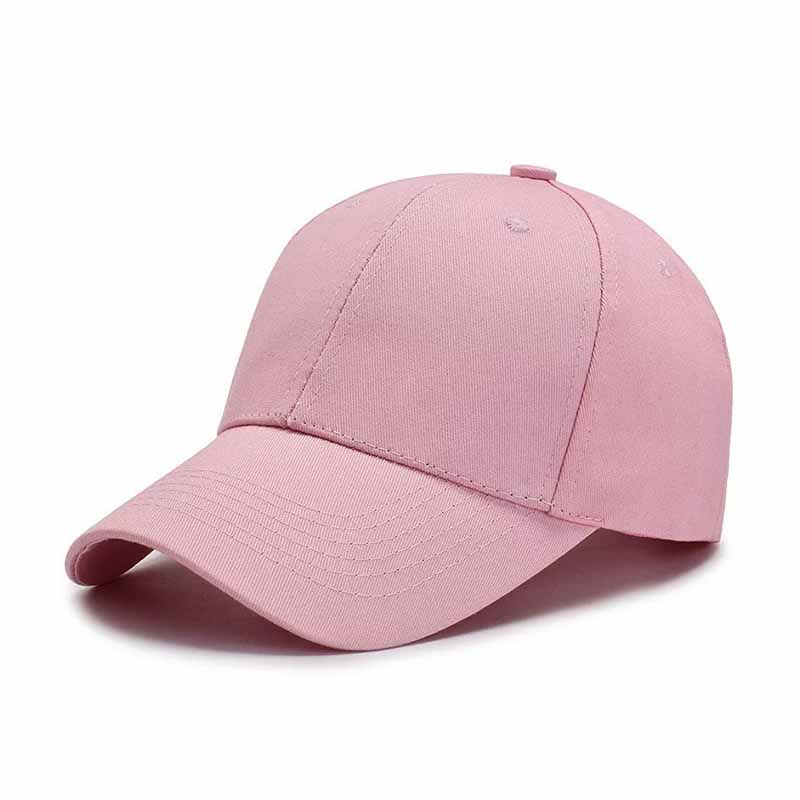
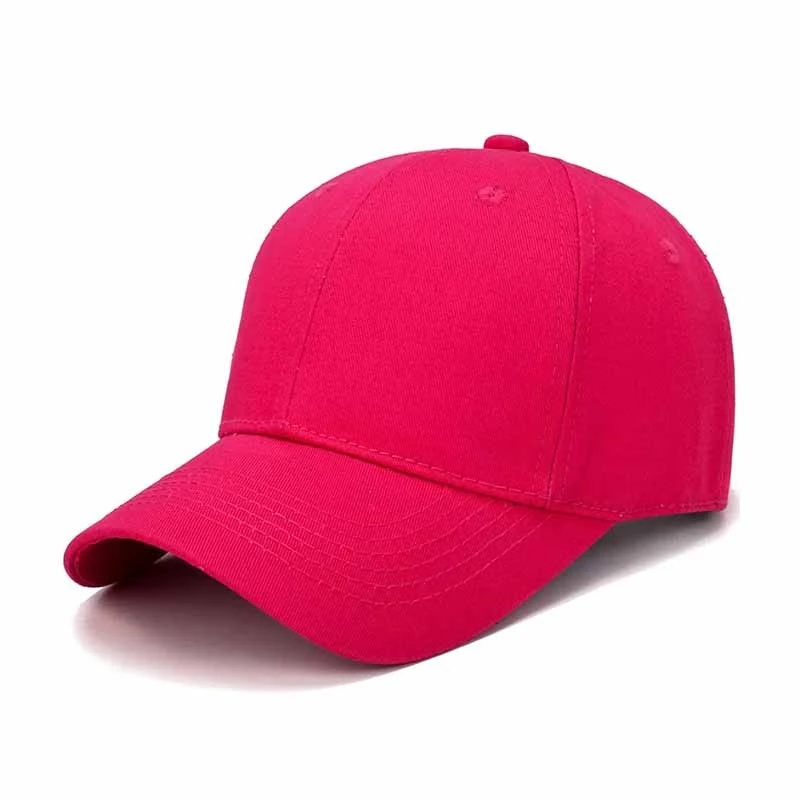
Tips for Drying Low Crown Caps
In addition to choosing the right drying method, there are several tips you can follow to ensure that your low crown cap dries properly and maintains its shape and quality. Here are some tips to keep in mind:
- Read the care instructions: Before drying your low crown cap, always read the care instructions on the label. The care instructions will provide specific guidelines on how to wash and dry the cap, including the recommended temperature, drying method, and any special precautions.
- Avoid direct sunlight and heat sources: Direct sunlight and heat sources, such as radiators or heaters, can cause the cap to shrink, fade, or warp. Always dry your low crown cap in a well-ventilated area, away from direct sunlight and heat sources.
- Reshape the cap: After washing or drying your low crown cap, always reshape it to its original form. This will help to maintain the shape and fit of the cap, and prevent it from becoming misshapen or distorted.
- Use a cap form: If you want to ensure that your low crown cap retains its shape during the drying process, you can use a cap form. A cap form is a mold that is shaped like a cap and can be inserted into the cap to help it dry evenly and maintain its shape.
- Be patient: Drying a low crown cap takes time, especially if you are using the air drying method. Be patient and allow the cap to dry completely before wearing or storing it. Rushing the drying process can cause the cap to shrink, warp, or develop mold or mildew.
Conclusion
Drying a low crown cap properly is essential for maintaining its shape, quality, and lifespan. By following the tips and methods outlined in this blog post, you can ensure that your low crown cap dries evenly and without damage. Remember to choose the right drying method for the material of the cap, avoid direct sunlight and heat sources, and reshape the cap after drying. With a little care and attention, your low crown cap will look and feel great for years to come.
If you're interested in purchasing high-quality low crown caps, we invite you to explore our selection of Low Crown Adjustable Hats, Plain Distressed Baseball Cap, and Plain Baseball Caps. Our caps are made from the finest materials and are designed to provide both style and comfort. Contact us today to discuss your specific needs and to place an order.
References
- "Caring for Your Baseball Cap." The Hat Store. Accessed [Date].
- "How to Wash and Dry a Baseball Cap." Real Simple. Accessed [Date].
- "Tips for Drying Hats." Hats.com. Accessed [Date].